

How to Install Aluminium Windows Correctly
An aluminium window can arrive perfectly fabricated, square and fully specified, then underperform because the opening has been measured poorly or the frame has been fixed under stress. Knowing how to install aluminium windows correctly protects the thermal performance, weather resistance, security and clean sightlines that clients expect from a premium system.
This is a practical guide for competent installers and construction professionals working on replacement, renovation and new-build projects. Always follow the system supplier’s installation instructions, the project specification and current Building Regulations. Large units, shaped frames and glazing beside structural openings may also require a site-specific method statement, lifting plan or structural detail.
Start with the opening, not the frame
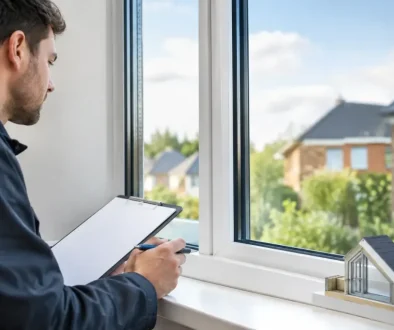
Good installation begins before the window is unwrapped. Check the structural opening is the correct size, plumb, level and square. Measure across the top, middle and bottom, then check both diagonals. Do not assume a newly formed opening is accurate because the brickwork or blockwork looks straight.
Allow a suitable perimeter fitting gap around the frame in line with the window system and project detail. This gap gives enough tolerance to position the frame correctly and accommodate movement, while leaving room for insulation and a properly designed perimeter seal. Forcing an aluminium frame tightly into an undersized opening is a common cause of distortion, difficult operation and failed seals.
The sill or supporting surface must be level, continuous and capable of carrying the unit’s weight. Aluminium windows can incorporate substantial double or triple-glazed units, so do not support the frame on loose packers, expanding foam or an uneven mortar bed. Use durable, non-compressible packers at load-bearing points, typically beneath the jambs and mullions, as required by the system guidance.
Before fitting, confirm the handing, opening direction, external face and drainage route. It is much easier to identify a reversed sash or a blocked drainage path before the unit is fixed into a finished reveal.
Prepare the frame and weathering detail
Remove transport protection only where necessary and keep it in place on visible faces for as long as practical. Check the frame for transit damage, verify the glass specification against the order and ensure any cills, add-on profiles, trickle vents or coupling details are present.
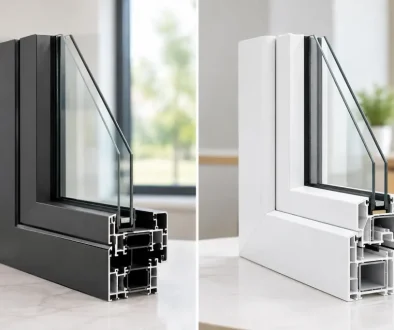
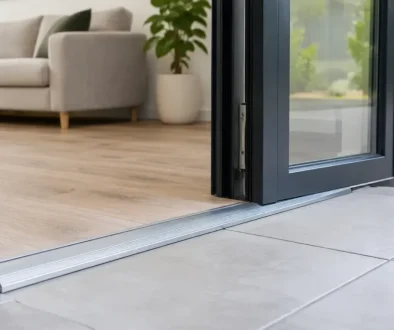
Aluminium systems manage water through drained and ventilated frame chambers. Those drainage paths must remain clear. Where a cill is specified, install it with the required fall to shed water away from the building. Seal joints, end caps and interfaces using materials approved for the system, rather than relying on a surface bead of sealant to solve a poor cill detail.
The external weather seal, internal air seal and insulated perimeter zone each do a different job. A sound installation detail usually aims to resist rain externally, control air leakage internally and avoid a cold, uninsulated gap around the frame. The exact approach depends on the wall build-up, cavity position, insulation strategy and whether the window sits in a masonry, timber-frame or steel-framed opening.
How to install aluminium windows: setting and fixing
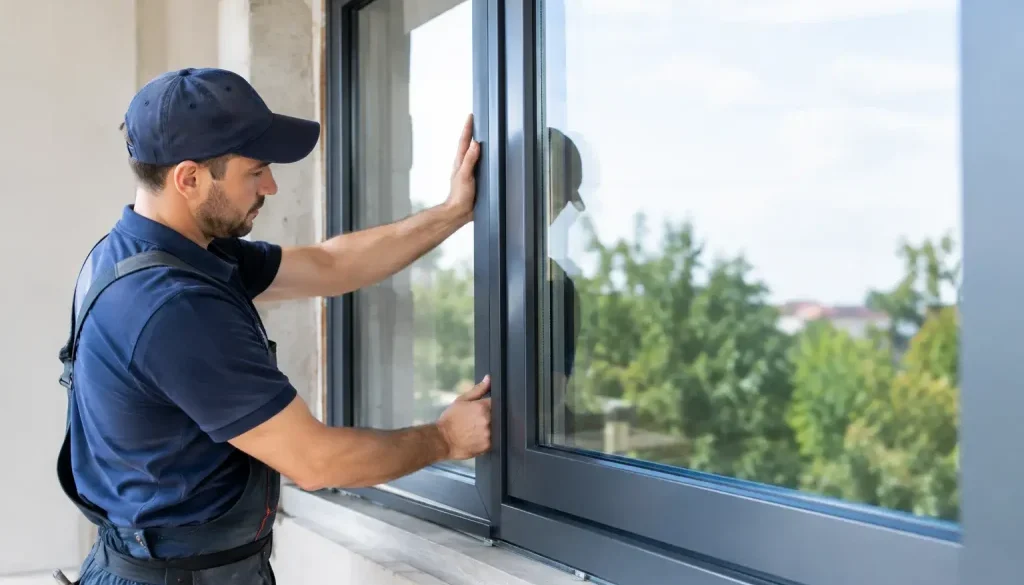
Lift the frame into the opening using appropriate manual-handling equipment. Do not lift a large glazed window by its opening sash or use handles as carrying points. For heavy units, plan the lift and use sufficient operatives or mechanical assistance.
Position the frame on its bearing packers, then pack the jambs and head as necessary to achieve the correct line and level. Check the frame in several directions: level across the head and sill, plumb on both jambs, and square by comparing diagonals. Recheck after every adjustment. An aluminium frame may look fine from outside while being slightly twisted, which can prevent the sash from closing evenly.
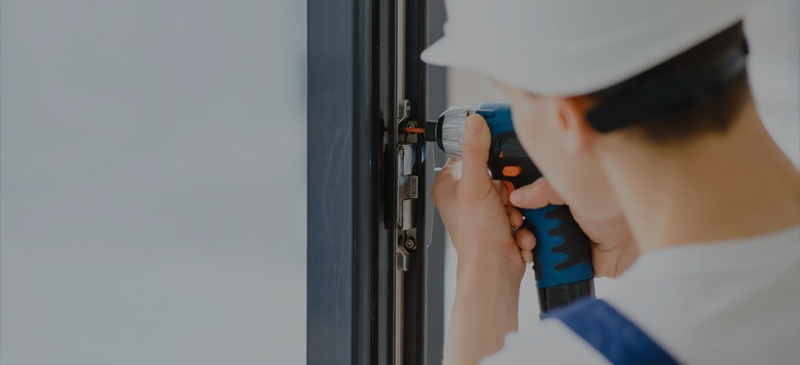
Fix through the locations specified by the system supplier. The fixing type and spacing must suit both the frame and the substrate. Masonry, concrete, timber and steel all require different fasteners and setting-out considerations. Fixings must be secure without pulling the profile out of shape, so tighten progressively and inspect the frame as you work.
Avoid placing fixings through drainage chambers, thermal breaks or areas prohibited by the fabrication instructions. Keep packers aligned with fixing points where required, so the fixing load is transferred properly into the structure rather than bending the frame. Expanding foam is not a structural fixing and must never be used as a substitute for mechanical restraint.
For coupled window runs, bays and curtain wall interfaces, install in the sequence shown on the approved drawings. These assemblies need particular care because one incorrectly set frame can transfer misalignment along the entire elevation.
Check operation before sealing
Once fixed, operate every sash, handle, hinge and locking point before the perimeter is sealed. Casement sashes should open smoothly, close without rubbing and engage the locks evenly. Check the reveals and sightlines from inside and outside, particularly where windows align with doors, brick courses or adjacent glazed sections.
If adjustment is needed, make it now. Do not attempt to disguise a frame that is out of square with heavy sealant beads or trim. The result may appear acceptable on handover day but is likely to create callbacks when temperatures change, building movement occurs or the window is used regularly.
Insulate and seal the perimeter properly
Fill the perimeter gap with a suitable insulation material without overpacking it. The objective is a continuous insulated zone, not pressure against the aluminium frame. Low-expansion foam may be appropriate within a designed detail, but it should be applied carefully and only after the frame is securely fixed and checked for operation.
Externally, use a compatible weatherproofing system that suits the joint size, substrate and exposure. Depending on the project, this may be a backing rod and sealant, a pre-compressed expanding tape, a flashing system or a combination of these. The sealant joint needs the right depth and width to move as intended. Applying sealant directly into an irregular gap without a backing material can lead to poor adhesion and early cracking.
Internally, complete the air seal continuously around the frame. This is often overlooked behind plasterboard, drylining or internal trims, yet it has a direct effect on draughts, condensation risk and the window’s real-world thermal performance. Keep internal finishes clear of weep holes and drainage outlets.
Glazing, finishing and final testing
Where glazing is completed on site, use the correct glazing packers, beads and gaskets for the system. Packers support the glass and maintain its position within the sash or outer frame; they are not optional. Incorrect packing can cause glass edge stress, sash drop, poor gasket compression and difficult locking.
Fit glazing beads in the correct order and inspect gasket engagement along every edge. Clean any debris from drainage channels before fitting covers, trims or caps. Protective film should be removed promptly after installation and before prolonged exposure to sunlight, as it can become difficult to remove or leave residue on powder-coated surfaces.
Your final inspection should cover more than appearance. Check that the frame is undamaged, fixings are complete, drainage is clear, seals are continuous and all moving parts operate correctly. Confirm the glass, handles, restrictors, vents and safety components match the schedule. For security-rated windows, make sure the installation detail preserves the performance intended by the tested system.
Record the installation, including photographs of concealed perimeter details where appropriate, product labels and any adjustments made. This creates a useful handover record for the contractor, building-control process and future aftersales support.
When a standard fitting detail is not enough
Some projects need more than a conventional reveal installation. Large-format windows, floor-to-ceiling glazing, heritage-style units, exposed coastal locations and deep external insulation zones all place different demands on the detail. The same applies where windows form part of a wider façade, interface with sliding doors or need to meet a specific acoustic, fire, ventilation or security requirement.
In these cases, agree the detail before fabrication wherever possible. Frame depth, cill arrangement, drainage, fixing zones, glass weight and thermal continuity all affect the final result. A made-to-measure aluminium window is only as effective as the opening, support and weathering strategy around it.
For trade projects, choosing a British-manufactured system with clear technical information and responsive support helps keep decisions practical on site. Rhino Aluminium can support installers with fabricated aluminium products designed around the demands of modern UK projects.
A well-installed aluminium window should disappear into the building in the best sense: straight lines, smooth operation, dry reveals and dependable performance long after the final bead of sealant has cured.