


Roof Lanterns UK: What to Specify First
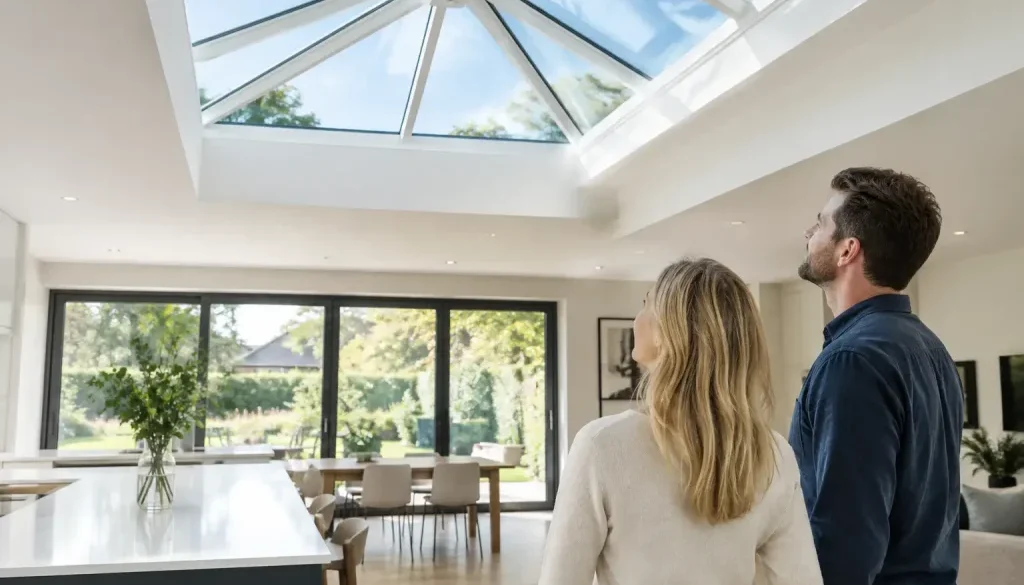
A roof lantern can be the feature that makes an extension feel genuinely different to the room it replaced. Positioned over a kitchen island, dining area or open-plan living space, it draws daylight deeper into the plan and gives the ceiling real architectural purpose. For roof lanterns UK projects, however, appearance is only the starting point. The specification must also work with the roof structure, thermal strategy, drainage layout and installation programme.
For installers, builders and developers, getting these decisions right early prevents difficult conversations later. A lantern that looks correct on a drawing can still create issues if the kerb is poorly formed, the glass is over-specified for the structure, or the overall roof build-up has not been considered.
Why roof lanterns suit UK extensions
The UK extension market has moved away from small, dark rear additions. Homeowners increasingly expect a bright kitchen-living space with large doors to the garden and daylight from above. A roof lantern answers that brief without requiring a full glazed roof.
Its raised, pitched form captures light from more than one direction, rather than relying solely on a flat horizontal pane. This can make a noticeable difference on north-facing or enclosed sites, where light through vertical glazing may be limited by neighbouring properties, boundary walls or mature planting.
There is a practical balance to strike. More glazing introduces more solar gain, and a very large lantern can dominate a modest extension. The right answer depends on orientation, room use, ceiling height and how much existing glazing the elevation already has. A lantern above a south-facing room with wide sliding doors needs a different glass specification from one above a shaded side return.
Start with the opening, not the frame colour
Frame colour is often discussed first because it is visible and easy to decide. In reality, the roof opening and supporting structure should lead the conversation. The size and position of the aperture affect steelwork, joist layout, plasterboard detailing, roof falls and the internal view up to the lantern.
A centrally positioned lantern can bring order to a rectangular kitchen extension, particularly when it aligns with an island or dining table. On an irregular plan, moving it slightly may deliver better light where it is needed most. Architects and installers should also consider sightlines from the house. A rooflight that appears well positioned externally may reveal an awkward junction or obstruct a key view internally.
The structural opening must be square, level and correctly sized for the system. This is not simply a matter of making the hole large enough. Tolerances, kerb dimensions and the roof manufacturer’s waterproofing requirements all need checking before fabrication is released. Correct survey information protects fitting time and reduces the risk of unsuitable site alterations.
Kerbs, falls and waterproofing
A roof lantern normally sits on a builder’s kerb or upstand. Its construction needs to suit the chosen roof covering and provide a stable, accurately formed base. The kerb should be level at the top, even where the flat roof itself has falls to drainage.
The waterproofing membrane, flashings and any insulation upstand must be detailed as a complete junction. Water should be directed away from the lantern base, not allowed to sit against it. On refurbishment work, this is especially relevant where existing roof falls or outlets may be limited.
It is wise to agree responsibility for the kerb, roof waterproofing and lantern installation before work begins. Clear interfaces save time. They also make it far easier to identify the cause of a problem should water ingress occur after completion.
Thermal performance is a system decision
A slim aluminium roof lantern can provide the crisp lines clients want, but aluminium alone does not determine insulation performance. The frame design, thermal break, glass make-up, edge seals, spacer bars and quality of installation all contribute to the final result.
When comparing products, ask whether the stated U-value relates to the centre pane of glass, the glazed unit, the frame, or the complete rooflight. These figures are not interchangeable. The relevant value for Building Regulations and project calculations may depend on the installation and the wider roof element, so the specification should be checked against the project requirements rather than selected from a headline number.
For many premium residential schemes, double glazing offers a sensible balance of weight, cost and thermal performance. Triple glazing can improve insulation in some applications, but it adds weight and may alter sightlines or affect the practical maximum size. It is not automatically the best choice for every lantern.
Solar control glass is worth discussing when the lantern faces south or west, or where a kitchen contains substantial glazing elsewhere. It can help moderate heat and glare, but stronger solar-control coatings may change the appearance of the glass and reduce daylight transmission. The goal is a comfortable room throughout the year, not the lowest possible figure in isolation.
Choose proportions that suit the building
Roof lanterns are available in square, rectangular and bespoke configurations. The most successful designs usually follow the geometry of the room below. A long, narrow extension may benefit from a rectangular lantern that runs with the room, while a near-square kitchen can carry a more balanced format.
Low-profile aluminium systems are popular because they preserve a clean roofline and minimise bulky internal sections. Fewer, slimmer rafters can also improve the view of the sky from below. Yet glass size has limits. As spans increase, glass thickness, support requirements, handling and access become more significant.
This is where a fabricated-to-order product is valuable. Rhino Aluminium manufactures in Kent and can support bespoke dimensions and a broad choice of RAL finishes, allowing the lantern to coordinate with aluminium bifolds, sliding doors or windows on the same project. The specification should still be based on proven system limits, wind loading and glass capability, rather than pushing a design beyond what can be safely transported and installed.
Safety glass and compliance need early attention
Overhead glazing must be designed with safety in mind. Depending on the location, size and application, roof glazing may require toughened, laminated or a combined safety glass build-up. Laminated inner panes are commonly considered for overhead installations because, if breakage occurs, fragments remain held in place by the interlayer.
The exact build-up should be confirmed for the individual system and project, including any requirements around critical locations, roof access and maintenance. Building control may also assess the work in the context of energy efficiency, ventilation, structural stability and fire safety. There is no substitute for checking the applicable requirements at design stage.
For trade customers, documentation matters as much as the finished appearance. Product information, glass specifications, performance data and fitting guidance should be available before installation. That supports a cleaner handover to the client and gives confidence that the selected product is suitable for its intended use.
Installation quality protects the finished result
Even a well-made lantern cannot compensate for a poor base or rushed installation. Before lifting glass onto the roof, check the upstand dimensions, level, diagonal measurements and weathering detail. Protect finished frame surfaces during the build, particularly where render, plaster or roofing works continue around the opening.
Glazing units should be handled with suitable lifting equipment and sufficient trained labour. Large panes are heavy, vulnerable at the edges and difficult to control in wind. Plan delivery access, roof access and storage space in advance rather than making decisions when the lorry arrives.
Once fitted, inspect gasket seating, pressure plates, caps, fixings and drainage routes in accordance with the system instructions. Internally, finish the reveal carefully. A neat plasterboard or timber lining makes the lantern look integrated rather than added on, while maintaining access where future inspection is needed.
Specify for the room the client will actually use
A roof lantern should be judged at breakfast on a bright summer morning, on a wet winter afternoon and after the kitchen has been cooking for an hour. This is why orientation, ventilation and shading should sit alongside colour and sightlines in every early discussion.
For a family kitchen, glare reduction and manageable temperatures may be higher priorities than maximum visible light. For a dining extension facing a shaded garden, a clearer glass specification may be more appropriate. If the room is prone to humidity or heat build-up, consider how opening doors, background ventilation and the broader ventilation strategy will work together.
The best roof lanterns are not selected from a photograph. They are measured, detailed and installed as part of the whole extension. Give the roof opening, glass specification and waterproofing junction the same attention as the visible frame, and the finished space will deliver the light, comfort and confidence your client expects.